Quick answer
Ski racks make it quick and easy to transport skis on your car, but there are important things to know about how ski racks work.
Disclosure: MyCargoRacks.com is reader-supported. When you buy through links on our site, we may earn an affiliate commission at no extra cost to you. Learn more
Most people install a ski rack, load their skis, and drive to the mountain without ever thinking about what's actually holding their gear on the car. That's fine — it means the product is doing its job invisibly. But if you want to choose the right rack, install it correctly, maintain it properly, and understand why certain racks cost three times more than others, you need to understand the engineering underneath.
I've spent over three decades in automotive engineering, and the principles that govern ski rack design — clamping force, material fatigue, aerodynamic loading, thermal expansion — are the same principles that govern every mechanical system on a vehicle. Let me explain how these systems actually work, why they're designed the way they are, and where the common failure points hide.
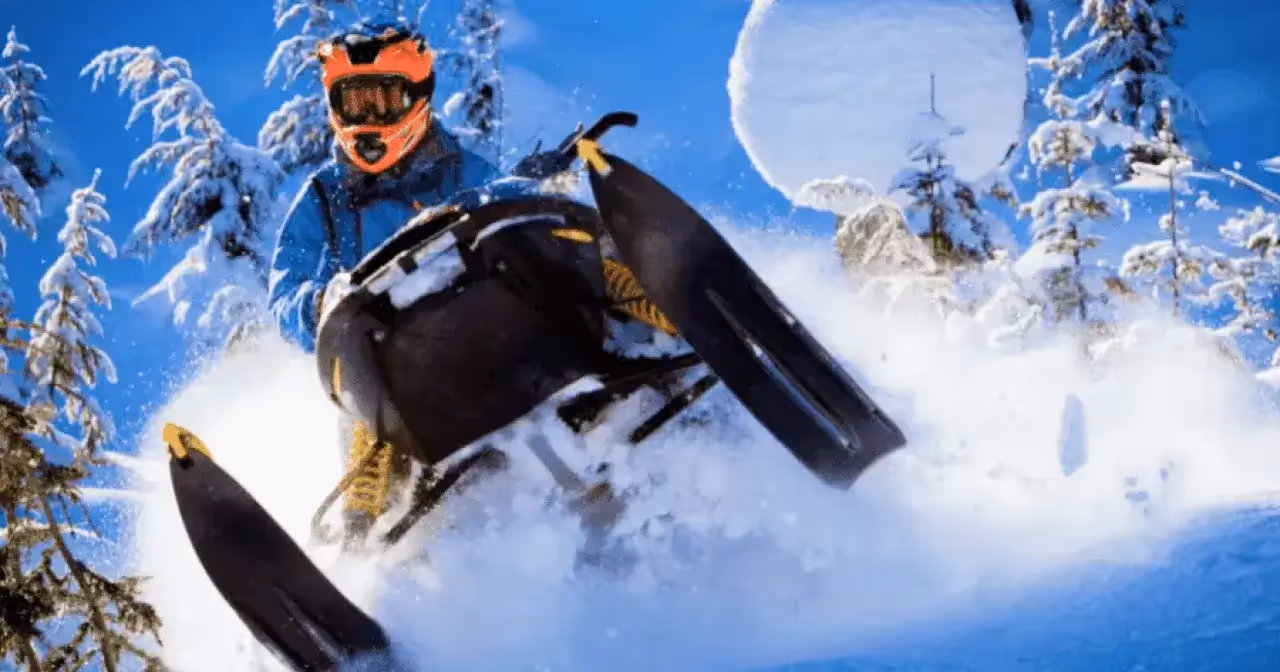
A pair of skis on a car roof at 70 mph experiences three simultaneous forces:
The rack must resist all three simultaneously, continuously, for hours at a time, in temperatures ranging from -10°F to 90°F, through rain, snow, ice, and road salt. This is not a trivial engineering task, even though the products themselves look simple.
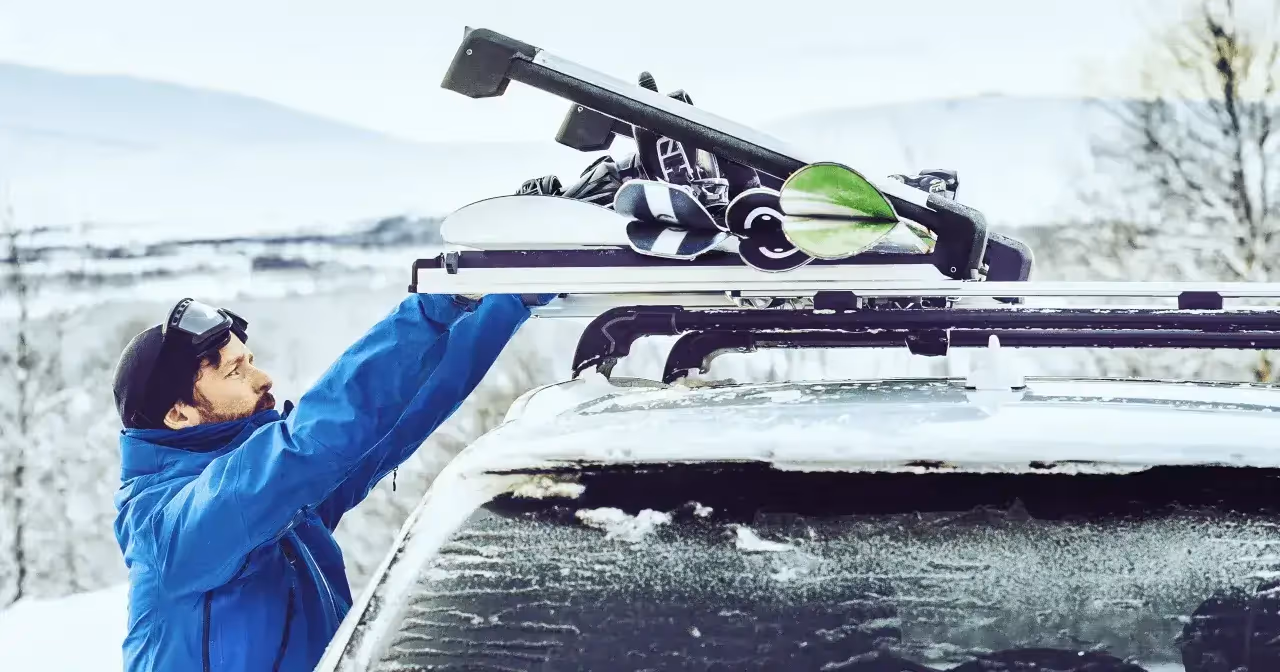
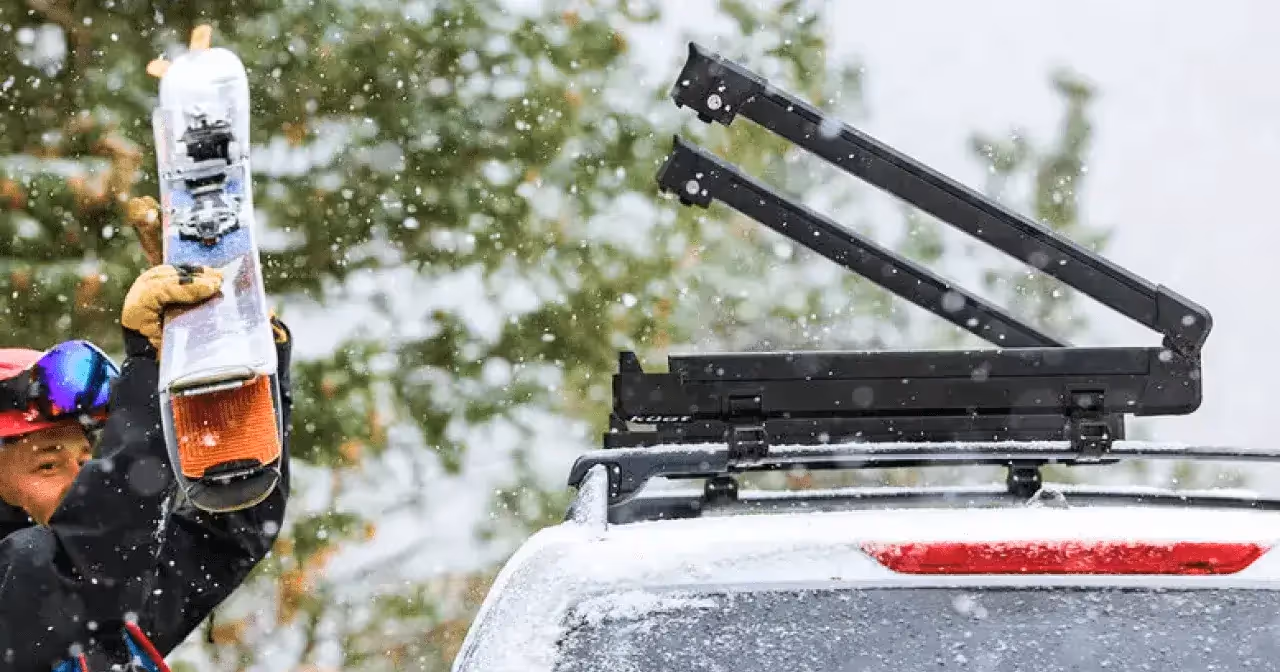
The most common ski rack design uses a jaw-style clamp — two opposing surfaces (an upper jaw and a lower cradle) that squeeze your skis between them. You lay skis on the lower cradle, close the upper jaw, and lock it with a lever, knob, or key.
How the clamping force works: The closing mechanism applies compressive force through a cam, toggle, or threaded mechanism. This compression creates friction between the rubber-lined jaw surfaces and the ski's top sheet and base. That friction is what resists the aerodynamic forces trying to pull the skis out.
The critical variable is clamping pressure per unit area. Too little pressure and the skis can slide out under wind load. Too much pressure and you risk deforming the ski's structure — crushing the core material or cracking the top sheet. Quality racks calibrate their clamping mechanisms to apply enough pressure for secure retention without damaging skis. Cheap racks often have poorly calibrated or inconsistent clamping pressure.
The rubber pads inside the jaws serve three functions:
Spring-loaded clamps use a compression spring to apply consistent clamping force. You pull the jaw open against the spring, insert skis, and release. The spring closes the jaw and maintains pressure. The advantage is consistency — the spring applies the same force every time, regardless of how carefully (or carelessly) the user operates it.
Manual clamps (knob-tightened or lever-operated) rely on the user to apply the right amount of force. This introduces human variability. Under-tighten and skis can shift. Over-tighten and skis can be damaged. Manual clamps do allow the user to adjust pressure for different ski thicknesses, which spring-loaded designs may not accommodate as well.
No ski rack works without something to mount it to. That something is the crossbar — the transverse bar that spans the width of your vehicle's roof. Understanding crossbar compatibility is essential because a mismatch here means the rack either won't attach at all or will attach insecurely.
There are four common crossbar profiles in the market:
The T-slot advantage: Modern aero bars typically have a T-slot channel running along the top. Ski rack feet slide into this channel and lock with a bolt or cam. This is the most secure crossbar-to-rack connection because it prevents both lateral sliding and upward lift. The T-slot converts the connection from a friction-only clamp to a positive mechanical interlock.
Crossbars are typically spaced 24-36 inches apart. The ski rack's feet must span this distance or be able to adjust to it. Wider spacing is better for load distribution — it spreads the ski's weight across a longer lever arm, reducing the point load on each crossbar.
Some vehicles have fixed crossbar positions that can't be adjusted. If your crossbar spacing doesn't match the rack's foot positions, you either need a different rack or aftermarket crossbars with adjustable positioning.
Every vehicle has a dynamic roof load limit — the maximum weight the roof structure can safely support while the vehicle is moving. This number includes the weight of the crossbars, the rack, AND the gear. Typical dynamic roof load limits range from 100 to 175 pounds for cars and crossovers, and 150 to 300+ pounds for trucks and SUVs.
Four pairs of skis with bindings: approximately 50-70 pounds. A ski rack: 10-20 pounds. Crossbars: 10-20 pounds. Total: 70-110 pounds. For most vehicles, this is well within the dynamic roof load limit. But if you're combining a ski rack with a rooftop cargo box, the combined weight needs to stay under that limit.
Static vs. dynamic roof load: The static roof load limit (vehicle parked) is usually 2-3 times higher than the dynamic limit. The dynamic limit is lower because driving introduces vertical forces from bumps and braking that multiply the effective weight. Always use the dynamic number when calculating your load.
Wind noise and fuel economy impact are the two most common complaints about roof-mounted ski racks. Both are directly related to aerodynamics.
A ski rack with blunt, boxy jaws creates turbulent airflow at highway speed. This turbulence generates noise (the whistling or humming sound people complain about) and increases drag. Premium racks — Thule, Yakima — spend significant engineering effort on aerodynamic jaw profiles that reduce turbulence. The price difference between a $150 rack and a $300 rack is partially the material and construction quality, but it's also the aerodynamic engineering that keeps your car quieter and more fuel-efficient.
At 70 mph, a poorly designed ski rack can increase fuel consumption by 5-15%. Over the course of a ski season with weekly trips, that adds up to real money. The "expensive" rack partially pays for itself in fuel savings — a fact that's invisible at the point of purchase but real over the product's lifetime.
Let me walk through the force chain from ski to car:
Each connection point must be individually secure, and the total system is only as strong as its weakest link. This is why I emphasize proper installation at every level.
A $400 ski rack attached to a loosely clamped crossbar is less safe than a $150 rack on a properly torqued crossbar system.
Based on engineering principles and real-world wear patterns, here's the maintenance schedule I recommend:
The price gap between a $100 ski rack and a $300 ski rack reflects real engineering differences:
For more context on why roof-mounted rack systems carry the price tags they do, our analysis of why roof racks are expensive examines the economics of the industry.
Ski and snowboard racks are deceptively simple-looking products that solve a non-trivial engineering problem. The clamping mechanism, the crossbar interface, the aerodynamic profile, and the material selection all contribute to whether your skis arrive at the mountain safely or end up on the highway behind you. Understanding these systems helps you make a better purchase decision, install the rack correctly, and maintain it so it performs reliably season after season.
If you're also considering magnetic ski rack alternatives, understand the different physics involved — and if your gear lives in the garage between trips, our garage storage guide will keep it organized and protected.
Related articles
Hand-picked price drops on the racks and carriers we actually recommend. Updated weekly.
Shop today's deals →Newsletter
Get the best rack deals in your inbox
Weekly picks, price drops, and honest reviews. No spam.
Disclosure: MyCargoRacks.com is reader-supported. When you buy through links on our site, we may earn an affiliate commission at no extra cost to you. Learn more