Wir verwenden Cookies und Analysen, um Ihre Erfahrung zu verbessern. Sie können jederzeit ablehnen.
Quick answer
Die meisten Leute montieren einen Skiträger, laden ihre Ski ein und fahren zum Berg, ohne jemals darüber nachzudenken, was ihre Ausrüstung eigentlich auf dem Auto hält. Das ist in Ordnung — es...
Hinweis: MyCargoRacks.com ist leserfinanziert. Wenn du über Links auf unserer Seite kaufst, erhalten wir möglicherweise eine Affiliate-Provision – ohne zusätzliche Kosten für dich. Mehr erfahren
Ursprünglich von Jason Majewski auf Englisch verfasst, übersetzt und für lokale Relevanz angepasst. Inhalt recherchiert und lokalisiert für Deutschland Leser.
Die meisten Leute montieren einen Skiträger, laden ihre Ski ein und fahren zum Berg, ohne jemals darüber nachzudenken, was ihre Ausrüstung eigentlich auf dem Auto hält. Das ist in Ordnung — es bedeutet, dass das Produkt unsichtbar seinen Job macht. Aber wenn du den richtigen Träger auswählen, ihn korrekt installieren, richtig pflegen und verstehen willst, warum bestimmte Träger dreimal so viel kosten wie andere, musst du die Technik dahinter verstehen.
Ich habe über drei Jahrzehnte in der Fahrzeugtechnik verbracht, und die Prinzipien, die das Skiträger-Design bestimmen — Klemmkraft, Materialermüdung, aerodynamische Belastung, Wärmeausdehnung — sind dieselben Prinzipien, die jedes mechanische System an einem Fahrzeug bestimmen. Lass mich erklären, wie diese Systeme tatsächlich funktionieren, warum sie so konstruiert sind, und wo die typischen Schwachstellen lauern.
Ein Paar Ski auf einem Autodach bei 110 km/h erfährt drei gleichzeitige Kräfte:
Der Träger muss allen drei Kräften gleichzeitig standhalten, ununterbrochen, über Stunden hinweg, bei Temperaturen von -23 °C bis 32 °C, durch Regen, Schnee, Eis und Streusalz. Das ist keine triviale Ingenieuraufgabe, auch wenn die Produkte selbst einfach aussehen.
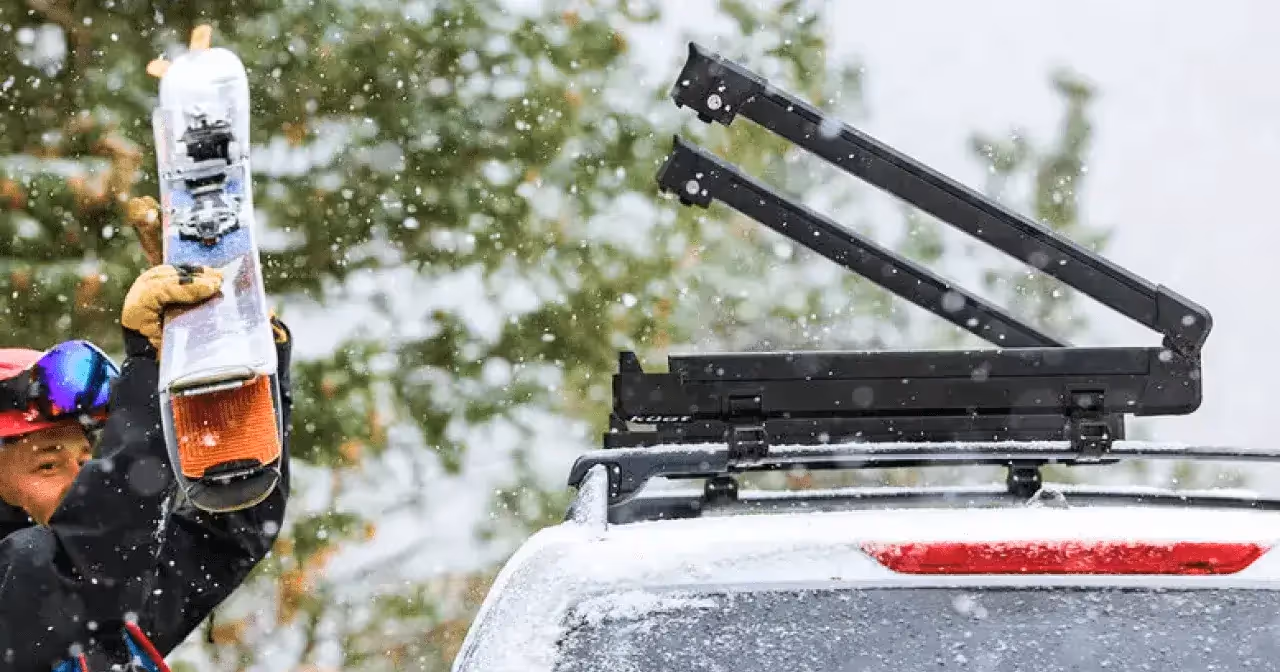
Das häufigste Skiträger-Design verwendet eine Backenklemme — zwei gegenüberliegende Flächen (eine obere Backe und eine untere Mulde), die deine Ski dazwischen zusammendrücken. Du legst die Ski in die untere Mulde, schließt die obere Backe und verriegelst sie mit einem Hebel, Drehknopf oder Schlüssel.
Wie die Klemmkraft funktioniert: Der Schließmechanismus erzeugt Druckkraft durch einen Nocken, Kniehebel oder Gewindemechanismus. Diese Kompression erzeugt Reibung zwischen den gummibeschichteten Backenflächen und der Oberfläche bzw. Unterseite des Skis. Diese Reibung ist es, die den aerodynamischen Kräften widersteht, die versuchen, die Ski herauszuziehen.
Die entscheidende Variable ist der Klemmdruck pro Flächeneinheit. Zu wenig Druck und die Ski können bei Windbelastung herausrutschen. Zu viel Druck und du riskierst, die Struktur des Skis zu verformen — das Kernmaterial zu zerdrücken oder das Topsheet zu reißen. Qualitätsträger kalibrieren ihre Klemmmechanismen so, dass genug Druck für sicheren Halt entsteht, ohne die Ski zu beschädigen. Billigträger haben oft schlecht kalibrierte oder inkonsistente Klemmdrücke.
Die Gummipolster in den Backen erfüllen drei Funktionen:
Warum die Polsterqualität wichtig ist: Mit der Zeit verhärten Gummipolster, werden rissig und verlieren ihren Reibungskoeffizienten. Ein Träger mit verschlissenen Polstern braucht mehr Klemmdruck, um denselben Halt zu erreichen — was das Risiko von Skischäden erhöht. Polster alle 3–5 Saisons zu ersetzen (oder früher, wenn du sichtbare Risse siehst) ist die wichtigste Wartungsaufgabe für jeden Skiträger.
Federgespannte Klemmen verwenden eine Druckfeder, um gleichmäßige Klemmkraft aufzubringen. Du ziehst die Backe gegen die Feder auf, legst Ski ein und lässt los. Die Feder schließt die Backe und hält den Druck aufrecht. Der Vorteil ist Konsistenz — die Feder bringt jedes Mal dieselbe Kraft auf, unabhängig davon, wie sorgfältig (oder nachlässig) der Benutzer sie bedient.
Manuelle Klemmen (mit Drehknopf oder Hebel) verlassen sich darauf, dass der Benutzer die richtige Kraft aufbringt. Das führt zu menschlicher Variabilität. Zu wenig angezogen und die Ski können verrutschen. Zu fest angezogen und die Ski können beschädigt werden. Manuelle Klemmen erlauben allerdings dem Benutzer, den Druck für verschiedene Skidicken anzupassen, was federgespannte Designs möglicherweise nicht so gut können.
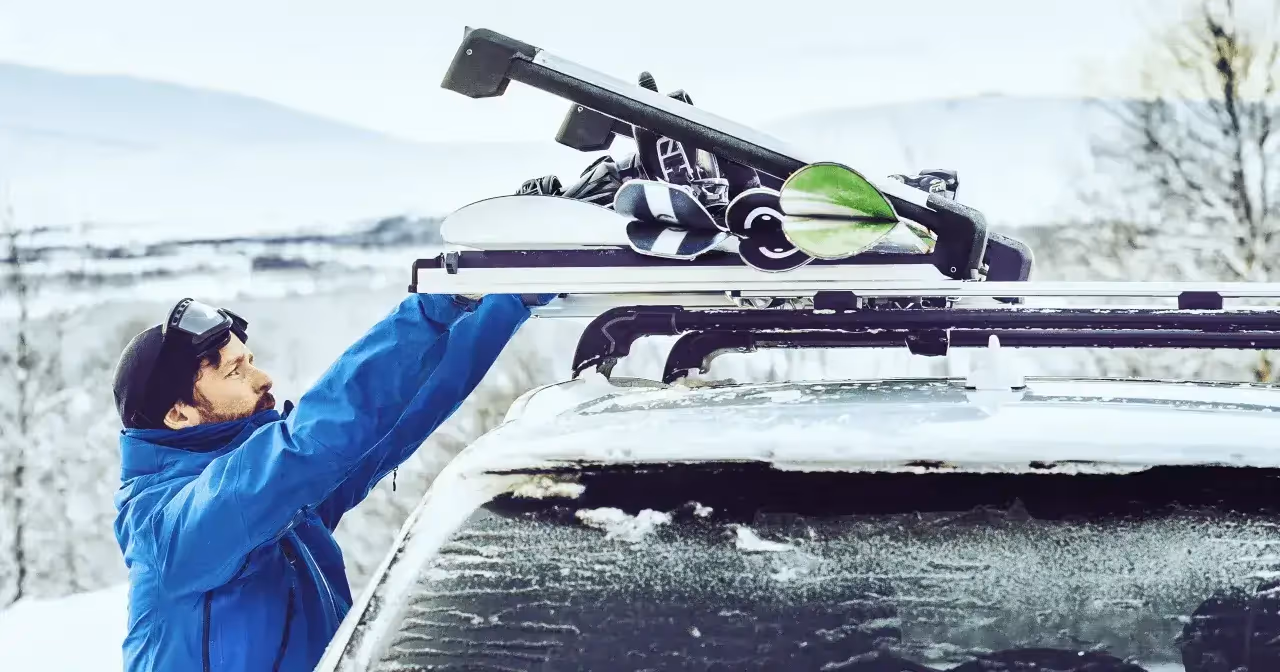
Kein Skiträger funktioniert ohne etwas, woran er befestigt wird. Dieses Etwas ist der Querträger — der quer über die Fahrzeugdachbreite verlaufende Balken. Querträger-Kompatibilität zu verstehen ist essenziell, denn eine Fehlanpassung hier bedeutet, dass der Träger entweder gar nicht oder unsicher befestigt wird.
Es gibt vier gängige Querträger-Profile auf dem Markt:
Der T-Nut-Vorteil: Moderne Aero-Träger haben typischerweise einen T-Nut-Kanal, der oben entlangläuft. Die Füße des Skiträgers gleiten in diesen Kanal und werden mit einer Schraube oder einem Nocken verriegelt. Das ist die sicherste Querträger-zu-Träger-Verbindung, weil sie sowohl seitliches Verrutschen als auch Abheben verhindert. Die T-Nut wandelt die Verbindung von einer reinen Reibungsklemmung in eine formschlüssige mechanische Verriegelung um.
Querträger sind typischerweise 60–90 cm voneinander entfernt. Die Füße des Skiträgers müssen diesen Abstand überbrücken oder sich darauf einstellen lassen. Größerer Abstand ist besser für die Lastverteilung — er verteilt das Skigewicht über einen längeren Hebelarm und reduziert die Punktbelastung an jedem Querträger.
Manche Fahrzeuge haben feste Querträgerpositionen, die sich nicht verstellen lassen. Wenn dein Querträgerabstand nicht zu den Fußpositionen des Trägers passt, brauchst du entweder einen anderen Träger oder Nachrüst-Querträger mit verstellbarer Positionierung.
Jedes Fahrzeug hat eine dynamische Dachlastgrenze — das maximale Gewicht, das die Dachstruktur sicher tragen kann, während das Fahrzeug in Bewegung ist. Diese Zahl beinhaltet das Gewicht der Querträger, des Trägers UND der Ausrüstung. Typische dynamische Dachlastgrenzen liegen bei 45–80 kg für Pkw und Crossover und 70–135+ kg für Trucks und SUVs.
Vier Paar Ski mit Bindungen: ungefähr 23–32 kg. Ein Skiträger: 5–9 kg. Querträger: 5–9 kg. Gesamt: 32–50 kg. Für die meisten Fahrzeuge liegt das deutlich innerhalb der dynamischen Dachlastgrenze. Aber wenn du einen Skiträger mit einer Dachbox kombinierst, muss das Gesamtgewicht unter diesem Limit bleiben.
Statische vs. dynamische Dachlast: Die statische Dachlastgrenze (Fahrzeug geparkt) ist üblicherweise 2–3 Mal höher als die dynamische Grenze. Die dynamische Grenze ist niedriger, weil beim Fahren vertikale Kräfte durch Unebenheiten und Bremsen das effektive Gewicht vervielfachen. Verwende immer die dynamische Zahl, wenn du deine Last berechnest.
Windgeräusche und Kraftstoffverbrauch sind die zwei häufigsten Beschwerden über dachmontierten Skiträger. Beides hängt direkt mit der Aerodynamik zusammen.
Ein Skiträger mit kantigen, kastenförmigen Backen erzeugt bei Autobahngeschwindigkeit turbulente Luftströmung. Diese Turbulenz erzeugt Geräusche (das Pfeifen oder Brummen, über das sich Leute beschweren) und erhöht den Luftwiderstand. Premiumträger — Thule, Yakima — investieren erheblichen Ingenieuraufwand in aerodynamische Backenprofile, die Turbulenzen reduzieren. Der Preisunterschied zwischen einem 130-€-Träger und einem 260-€-Träger liegt teilweise an der Material- und Verarbeitungsqualität, aber auch an der aerodynamischen Entwicklung, die dein Auto leiser und sparsamer macht.
Bei 110 km/h kann ein schlecht konstruierter Skiträger den Kraftstoffverbrauch um 5–15 % erhöhen. Über eine Skisaison mit wöchentlichen Fahrten summiert sich das zu echtem Geld. Der "teure" Träger zahlt sich teilweise durch Kraftstoffeinsparungen selbst zurück — eine Tatsache, die beim Kauf unsichtbar, aber über die Lebensdauer des Produkts real ist.
Lass mich die Kräftekette vom Ski zum Auto durchgehen:
Jeder Verbindungspunkt muss einzeln sicher sein, und das Gesamtsystem ist nur so stark wie sein schwächstes Glied. Deshalb betone ich korrekte Montage auf jeder Ebene — ein 350-€-Skiträger an einem locker geklemmten Querträger ist weniger sicher als ein 130-€-Träger an einem korrekt angezogenen Querträgersystem.
Basierend auf Ingenieurprinzipien und realen Verschleißmustern empfehle ich folgenden Wartungsplan:
Der Preisunterschied zwischen einem 90-€-Skiträger und einem 260-€-Skiträger spiegelt echte Ingenieurunterschiede wider:
Für mehr Kontext, warum Dachträgersysteme die Preisschilder tragen, die sie haben, analysiert unser Artikel über teure Dachträger die Wirtschaftlichkeit der Branche.
Ski- und Snowboardträger sind täuschend einfach aussehende Produkte, die ein anspruchsvolles Ingenieurproblem lösen. Der Klemmmechanismus, die Querträgerschnittstelle, das aerodynamische Profil und die Materialauswahl tragen alle dazu bei, ob deine Ski sicher am Berg ankommen oder auf der Autobahn hinter dir landen. Diese Systeme zu verstehen hilft dir, eine bessere Kaufentscheidung zu treffen, den Träger korrekt zu installieren und ihn so zu pflegen, dass er Saison für Saison zuverlässig funktioniert.
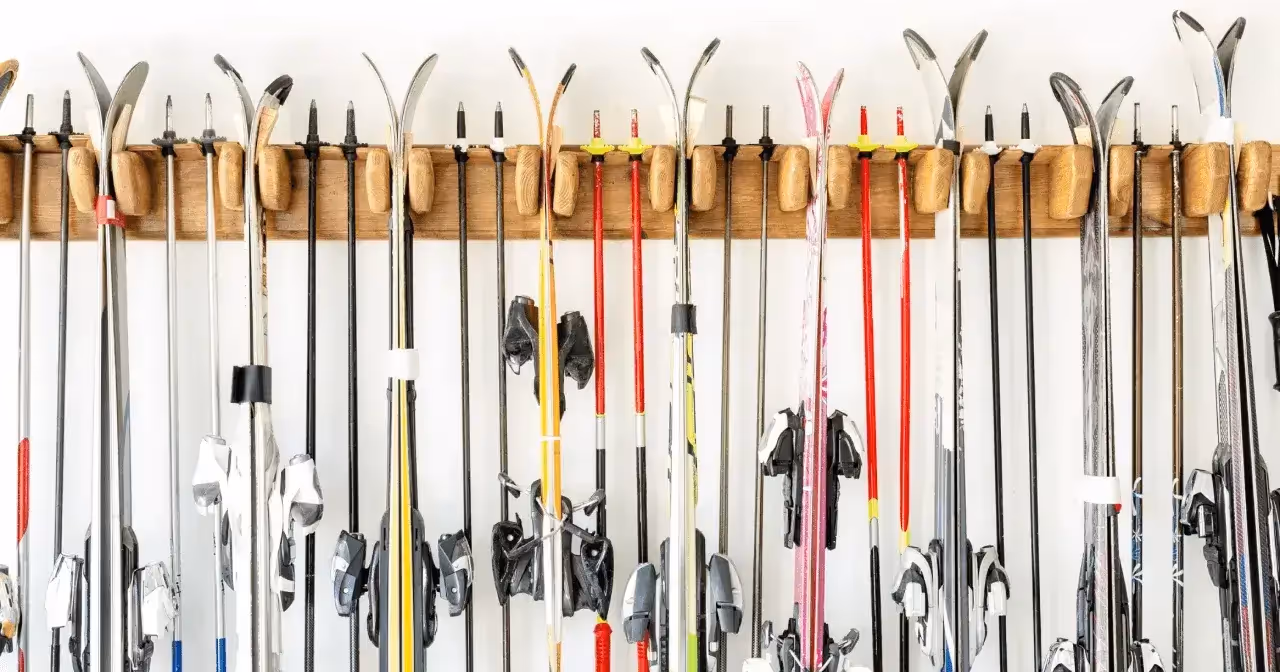
Das Fazit: Kauf von etablierten Marken, die in Technik investieren (Thule, Yakima und vergleichbare), installiere nach den Drehmomentangaben des Herstellers, pflege die Gummipolster und Verbindungspunkte, und respektiere die dynamische Dachlastgrenze deines Fahrzeugs. Das sind keine schwierigen Aufgaben, aber jede davon auszulassen führt zu einem Risiko, das kein Ingenieur akzeptieren würde. Wenn du auch magnetische Skiträger-Alternativen in Betracht ziehst, mache dich mit der anderen Physik vertraut — und wenn deine Ausrüstung zwischen den Touren in der Garage lebt, hält unser Garagen-Aufbewahrungsguide alles organisiert und geschützt.
Related articles
Hand-picked price drops on the racks and carriers we actually recommend. Updated weekly.
Shop today's deals →Newsletter
Get the best rack deals in your inbox
Weekly picks, price drops, and honest reviews. No spam.
Hinweis: MyCargoRacks.com ist leserfinanziert. Wenn du über Links auf unserer Seite kaufst, erhalten wir möglicherweise eine Affiliate-Provision – ohne zusätzliche Kosten für dich. Mehr erfahren