No Rack? Here's How to Tie a Canoe to Your Car
I still remember the phone call. My buddy Jake rings me up on a Thursday night — "Bill, the Nantahala is running perfect this weekend. You in?" Of course I was in. One problem: I'd just bought my first car, a beat-up Subaru Outback with zero accessories on it, and my canoe was sitting in my parents' garage forty minutes away. No roof rack. No crossbars. Nothing but bare roof rails and a whole lot of optimism.
That was over ten years ago. I made it work with two pool noodles, some ratchet straps I borrowed from my dad's garage, and a YouTube video I watched on my phone in the driveway at midnight. The canoe made it to the put-in. The paint on my roof? Let's just say it had a few new conversation starters.
Since then, I've spent a decade as a whitewater instructor, and I've transported canoes and kayaks hundreds of times — on rack systems, on bare roofs, on trailers, and once on a buddy's pickup where we just laid the boat in the bed and prayed through every turn. I've seen people do it right, and I've seen people lose a canoe on I-40 outside Asheville. That second one is not the story you want to tell at the takeout.
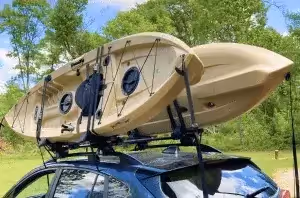
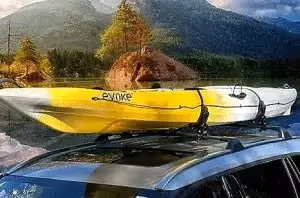
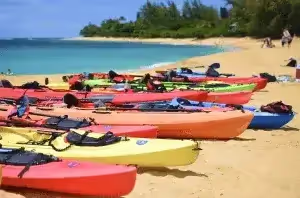
So here's the deal: the best way to haul your canoe is with a proper roof rack system. Full stop. If you're paddling regularly — even once a month — a rack pays for itself in peace of mind alone. If you're curious what's out there, I wrote a breakdown of the four main types of kayak racks and carriers that covers everything from J-cradles to stackers. But racks can run you a few hundred bucks, and if you just bought a canoe at a yard sale and you need to get it to the lake this Saturday, you're not going to wait six days for a rack to ship from Amazon.
That's what this guide is for. I'm going to walk you through exactly how to strap a canoe to your car with no rack — the way I've done it dozens of times, and the way I teach my students when they're trying to get boats to the river on a budget. We're going to do it without scratching your roof, without cracking a window, and without becoming that guy on the highway with a canoe doing cartwheels off his Civic.
Gear You Need Before You Touch That Canoe
Before we get into the tie-down process, let's talk about materials. I learned this the hard way on that first Nantahala trip — I skipped the foam padding because I figured the canoe hull was tough enough. It is. Your car's roof and paint are not. I ended up with two long scratches that ran the length of my roof like racing stripes. Don't be twenty-two-year-old Bill.
Here's your shopping list:
Foam Blocks or Pool Noodles
These go between the canoe hull and your car's roof. They serve two purposes: they protect your paint and roof from scratches and dents, and they create a grippy surface so the canoe doesn't slide around.
You've got two options here. Dedicated foam block kits are the better choice — companies like SportRack and Malone make foam block sets specifically designed for this. The newer kits that have come out recently are noticeably better than what I was using five years ago. The foam is denser, they're contoured to match typical roof profiles, and some come with built-in strap channels so everything stays organized. You can grab a solid kit for twenty to thirty bucks.
Your other option is pool noodles. Cut two sections about three feet long, then slice them lengthwise so they sit flat on the roof. They work in a pinch — I've used them plenty of times — but they compress faster, they shift around more, and they don't last more than a few trips before they start crumbling. If you're doing this as a one-time thing to get your canoe home from a friend's house, pool noodles are fine. If you think you'll do this even twice more, spend the thirty bucks on real foam blocks.
Cam Buckle Straps or Ratchet Straps
You need at least two straps to secure the canoe to your roof. These run over the hull, through your car's interior (doors open, strap goes through, doors close on the strap), and cinch down tight.
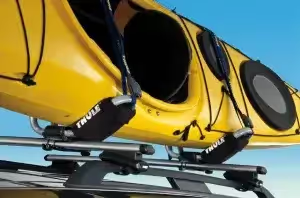
Cam buckle straps are what I recommend for most people. They're easier to use, they're less likely to overtighten and crack your gunwales, and they release quickly when you get to the put-in and you're excited to get on the water. NRS and Thule both make excellent ones in the 12- to 15-foot range, which is the sweet spot for most sedans and SUVs.
Ratchet straps give you more mechanical advantage and a tighter hold, which sounds great until you crank one down too hard and hear your fiberglass hull make a sound it shouldn't make. I've watched a student on the French Broad put a stress crack in a rental canoe with a ratchet strap. If you go ratchet, tighten until snug and then stop. You're securing a canoe, not compressing a bale of hay.
Bow and Stern Lines
This is the part most people skip. Don't skip it. Bow and stern lines are not optional.
These are ropes or straps that run from the front and back of your canoe down to anchor points on your vehicle — tow hooks, bumper loops, or hood/trunk tie-down points. They prevent the canoe from shifting forward when you brake hard or sliding backward when you accelerate onto a highway on-ramp.
I was driving back from a trip on the Chattooga River a few years ago — Class III water, long day, tired — and I hit the brakes hard for a deer on a two-lane road in the mountains. The roof straps held, but the canoe slid forward about eight inches because I hadn't tied my bow line tight enough. The stern popped up, caught the wind like a sail, and for about three seconds I thought I was going to watch my canoe become a hang glider. It didn't come off. But it could have. I re-tied everything on the shoulder and added an extra wrap on the bow line. Lesson learned the adrenaline way.
Step-by-Step: Tying Your Canoe Down
Alright, you've got your gear. Let's get this boat on your car. Grab a buddy if you can — it makes the lifting part way easier, especially with a 16-foot canoe.
Step 1: Position Your Foam Blocks
Place your foam blocks on the roof about two to three feet apart, roughly where the front and rear crossbars of a roof rack would go. You want them far enough apart to give the canoe a stable base, but not so far that they're sitting on curved sections of your roof near the windshield or rear window.
If your car has roof rails (those raised bars that run front to back), set the foam blocks against them. The rails give you a natural stop so the blocks don't slide side to side.
Step 2: Lift and Place the Canoe
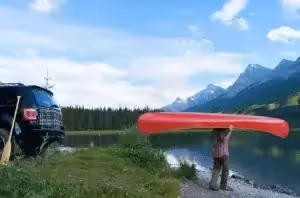
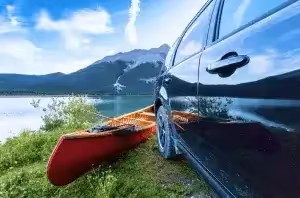
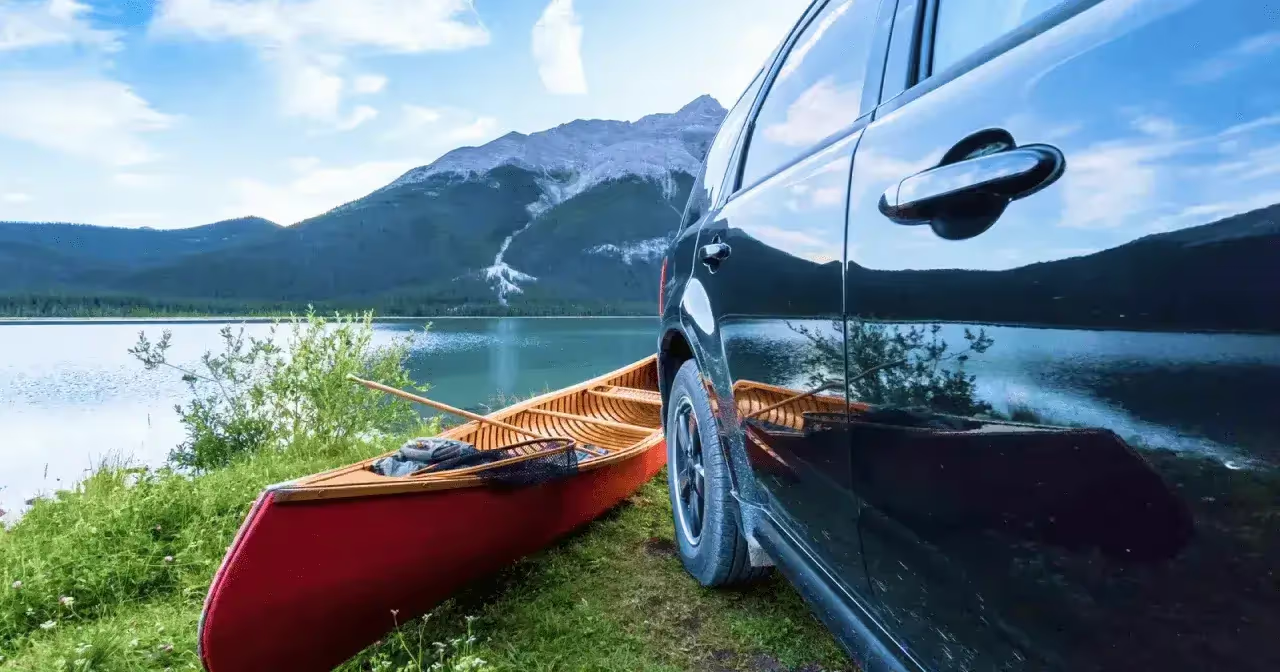
Flip the canoe upside down — hull up, open side down. This is important. An upside-down canoe is more aerodynamic, it nests better on the foam blocks, and it won't collect rain or wind resistance like a giant scoop on your roof.
With your buddy, lift from each end and set the canoe centered on the foam blocks. The canoe should overhang equally on the front and back of the car. Take a step back and eyeball it — if it looks crooked, it is. Adjust until it's straight. A canoe that sits off-center will pull to one side at speed, which is sketchy on a highway and exhausting on a long drive.
Step 3: Secure the Roof Straps
Take your first cam buckle strap and drape it over the canoe at the front foam block. Open both front doors. Run one end of the strap down through the front door opening, across the floor or seat, and out the other front door. Close both doors on the strap. The door seals will grip the strap and hold it in place.
Repeat with your second strap at the rear foam block, using the rear doors. If you have a two-door car, you'll run both straps through the same doors — just make sure they're spaced apart on the roof.
Now tighten. Pull the slack out, cinch the cam buckle, and check that the canoe doesn't shift. You should be able to grab the gunwale and give it a firm push side to side without any movement. If it rocks, tighten more. If you're using the strap-through-door method, make sure the straps sit flat against the door frame — twisted straps lose holding power and can let water leak into your car if it rains.
Step 4: Attach Bow and Stern Lines
Tie a line from the bow (front) of the canoe to a solid anchor point on the front of your car. Most vehicles have tow hooks behind the front bumper or under the chassis — get down and look. You can also use hood loops, which are aftermarket straps that tuck under your hood and give you a clean tie-down point.
Do the same at the stern (back), running a line to a rear tow hook, trailer hitch, or trunk anchor point. Speaking of hitches — if you've got one and you paddle a lot, a hitch-mounted canoe rack is another solid option that doesn't require any roof setup at all.
Your bow and stern lines should be taut but not guitar-string tight. You want them to prevent forward and backward movement without pulling the canoe out of position on the foam blocks. A trucker's hitch knot is perfect here — it gives you mechanical advantage and locks in place.
Step 5: The Walk-Around Check
Before you start the engine, do a full lap around the car. I do this every single time, even with a proper rack system. Check every strap, tug every line, push the canoe in every direction. Then check that your doors close and latch properly with the straps running through them. Make sure your side mirrors aren't blocked by the canoe's gunwales.
Here's a trick I picked up from a guide on the Ocoee: drive around the block first. Go a quarter mile, pull over, and recheck everything. Straps settle and stretch slightly in the first few minutes of driving. A strap that felt tight in your driveway might have a half-inch of play after two speed bumps. Retighten and you're golden.
Road Wisdom: What They Don't Tell You Online
This is the stuff that separates someone who's done this once from someone who's done it a hundred times.
- Keep your speed under 60 mph. Seriously. A canoe on foam blocks without a rack is not as secure as one bolted to crossbars. Wind resistance increases exponentially with speed. At 55 mph, you're fine. At 70 mph, you're asking the laws of physics to be generous. I personally stay at 55 or under, even on interstates. People can pass me. My canoe stays on my car.
- Crosswinds are your enemy. If you're driving across an open plain, over a bridge, or through a mountain gap where the wind funnels, slow down even more. I was on I-26 heading toward the Green River one morning and hit a crosswind gust coming out of a valley that physically pushed my car into the next lane. The canoe acted like a sail. Hands tight on the wheel, speed down, and stay in the right lane.
- Rain makes straps slippery. Wet nylon straps lose friction. If you're driving in rain, pull over every thirty minutes and recheck your strap tension. I'm not being dramatic — I've had straps loosen a full inch in a twenty-minute rainstorm. The foam blocks also get slick when wet, which reduces the friction holding the canoe in place.
- Avoid highways if you can. Back roads and state routes are slower, but the lower speeds and fewer semis blasting past you make the whole trip less stressful. The truck wash from an 18-wheeler passing you at 65 mph is like a mini hurricane hitting your canoe from the side. Take the scenic route. You're a paddler — you like the scenic route anyway.
- Never leave your canoe strapped overnight without rechecking in the morning. Temperature changes cause straps to expand and contract. Morning dew makes everything slick. If you strapped up the night before a dawn paddle, recheck and retighten before you roll out.
- Put a flag or bright cloth on the stern if your canoe overhangs more than three feet past your bumper. In most states, loads extending beyond four feet require a red flag or light. Don't get pulled over for something that costs zero dollars to fix.
When It's Time to Upgrade to a Real Rack
I'll be straight with you: tying a canoe to your car without a rack works, and it works safely if you follow the steps above. But it's a workaround, not a long-term solution. Every time you do it, you're spending twenty minutes on setup and driving slower than you need to. If you're paddling more than three or four times a season, a rack system will change your life.
And they're not as expensive as you might think. I put together a full cost breakdown of how much kayak racks actually cost — there are solid options starting under $150 that mount in minutes and let you drive at full highway speed with total confidence. Once I got my first real rack, I wondered why I spent two years messing around with pool noodles and ratchet straps.
But that's a decision for later. Right now, you've got a canoe and a car and a river calling your name. Let's get you there.
Quick Reference Checklist
- Place foam blocks (or pool noodles) on roof — spaced 2-3 feet apart
- Flip canoe upside down and center it on the foam blocks
- Run cam buckle straps over the hull, through door openings, and cinch tight
- Attach bow and stern lines to front and rear vehicle anchor points
- Walk around the car — check every strap, every line, every connection
- Drive around the block, pull over, and retighten everything
- Stay under 60 mph, watch for crosswinds, and recheck straps every 30-45 minutes on long drives
I've used this exact method to get canoes to the Nantahala, the French Broad, the Chattooga, the Green, and a dozen lakes across the Southeast. It works. It's not fancy, and it takes a little extra time and attention, but it gets your boat to the water safely — and that's the only thing that matters.
The first time you do it, you'll be a little nervous. That's good. That nervousness means you'll double-check everything and drive carefully. By the third time, it'll feel routine. And by the fifth time, you'll probably be shopping for a real rack because you're tired of threading straps through your car doors.
Now go paddle something.